
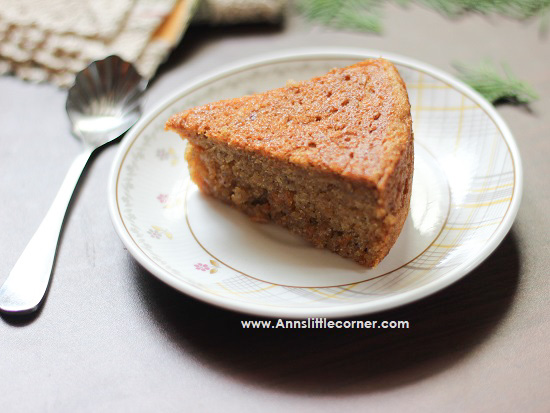
Carrot and Banana Cake is a quick and easy recipe which gives light, soft and moist cake. Its a delicious way to use those over ripe bananas from the fruit bowl. Sweet, ripe bananas are the key to making a great banana cake. Mashed bananas added within the mix gives an extra moist spongy cake and carrots for a special finish. It was exceptionally moist and delicious… It is full of flavor and will melt in your mouth, without being mushy. The aroma of this would fill your kitchen, tempting you to taste the cake immediately. Dont give in… Here goes the recipe…


Carrot Banana Cake
Ingredients
- 1 Cup Whole Wheat Flour
- ½ Cup Oil / Butter
- 1 Cup Milk
- 1 Cup Powdered Sugar
- 1 Teaspoon Cinnamon Powder
- 1 Teaspoon Cloves Powder Optional
- ⅓ Cup Banana Puree
- ½ Cup Carrot Finely Grated
- 1 Teaspoon Baking Powder
- 1 Teaspoon Baking Soda
- 1.5 Tablespoon Vinegar
Instructions
- Preheat the microwave at 180 Deg C for 10 minutes.
- Add in the vinegar into milk and mix it to form buttermilk. Set them aside.
- Blend the banana into a smoothe paste and add it into a mixing bowl.
- Add in the oil. Mix until it forms a smooth paste.
- Add in the buttermilk and mix them.
- Add in the sugar and stir until the sugar melts.
- Add in the grated carrot and mix gently. Set the wet ingredients aside.
- Take another mixing bowl. Place a sieve. Add Wheat flour, Baking Soda, Baking powder and cinnamon powder and sift them to remove the lumps. Mix the sifted flour with a spatula.
- Add the flour slowly into the wet ingredients and fold and mix them until they form a thick batter.
- Take a baking tin and grease it generously with oil. our the batter into the greased tin. Tap the tin so that the air bubbles escape and the batter settles.
- Bake for 50 minutes a 180 Deg C. If a skewer inserted in the center of the cake comes out clean then the cake is baked. Else bake for 10 more minutes.
- Release the sides of the cake using a knife and take the cake out of the tin.
- Cool down the cake completely. Slice the cake.
- Enjoy the yummy cake.
Notes
- Cool the cake Completely before slicing.
- The cake tastes better the next day.
- The Banana used must be ripe.
- Can be stored in an air tight container for two days or refrigerate it for a week.
- Walnut goes very well with this recipe either as a topping or mixed with the cake batter. any choice of nuts and dry fruits can be added.
- Preheating is mandatory for a perfect baked cake.
- The Baking time differs between different Ovens. Read and understand your user manual before baking your cake.
- The amount of milk completely depends on the type of your flour. So add little by little and mix them gently to for a thick batter.
Step by step photos on how to make Carrot Banana Cake:
- Preheat the oven for 10 minutes in 180 Deg C . Take milk and add in Vinegar. Mix them to form buttermilk. Set them aside.

2. Blend the banana in the blender into a smooth paste.

3. Add oil into the banana paste.

4. Mix them until they form a smooth liquid.

5. Add in the buttermilk and mix them gently.

6. Add in Sugar and stir until the sugar dissolves completely.

7. Add in grated carrot. Mix them.

8. Take another mixing bowl. Place a sieve. Add in Wheat flour into the sieve.

9. Add in Baking powder and Baking soda.

10. Add in Cinnamon Powder. Sift the mixture and remove lumps.

11. Mix the flour with a spatula.

12. Add in the flour into liquid mixture. Fold them and mix them.

13. Keep mixing until they reach a smooth consistency.

14. Take a cake tin. Grease it with generous oil.

15. Pour the cake batter into the cake tin. Tap the tin so that the batter settles down. And the air bubbles escape.

16. Place the cake tin in the oven. Bake for 50 minutes at 180 Deg C for 50 minutes or until the cake is done. If a skewer inserted into the center of the cake comes out clean then the cake is ready. Otherwise bake for another 10 minutes.

17. Release the sides of the cake using a knife. Invert the cake tin and take the cake out. Cool down the cake completely.

18. Slice the cake.

yumm cake is now ready to serve.


Leave a Reply